How to Create Convincing Weather in AI Images and Videos
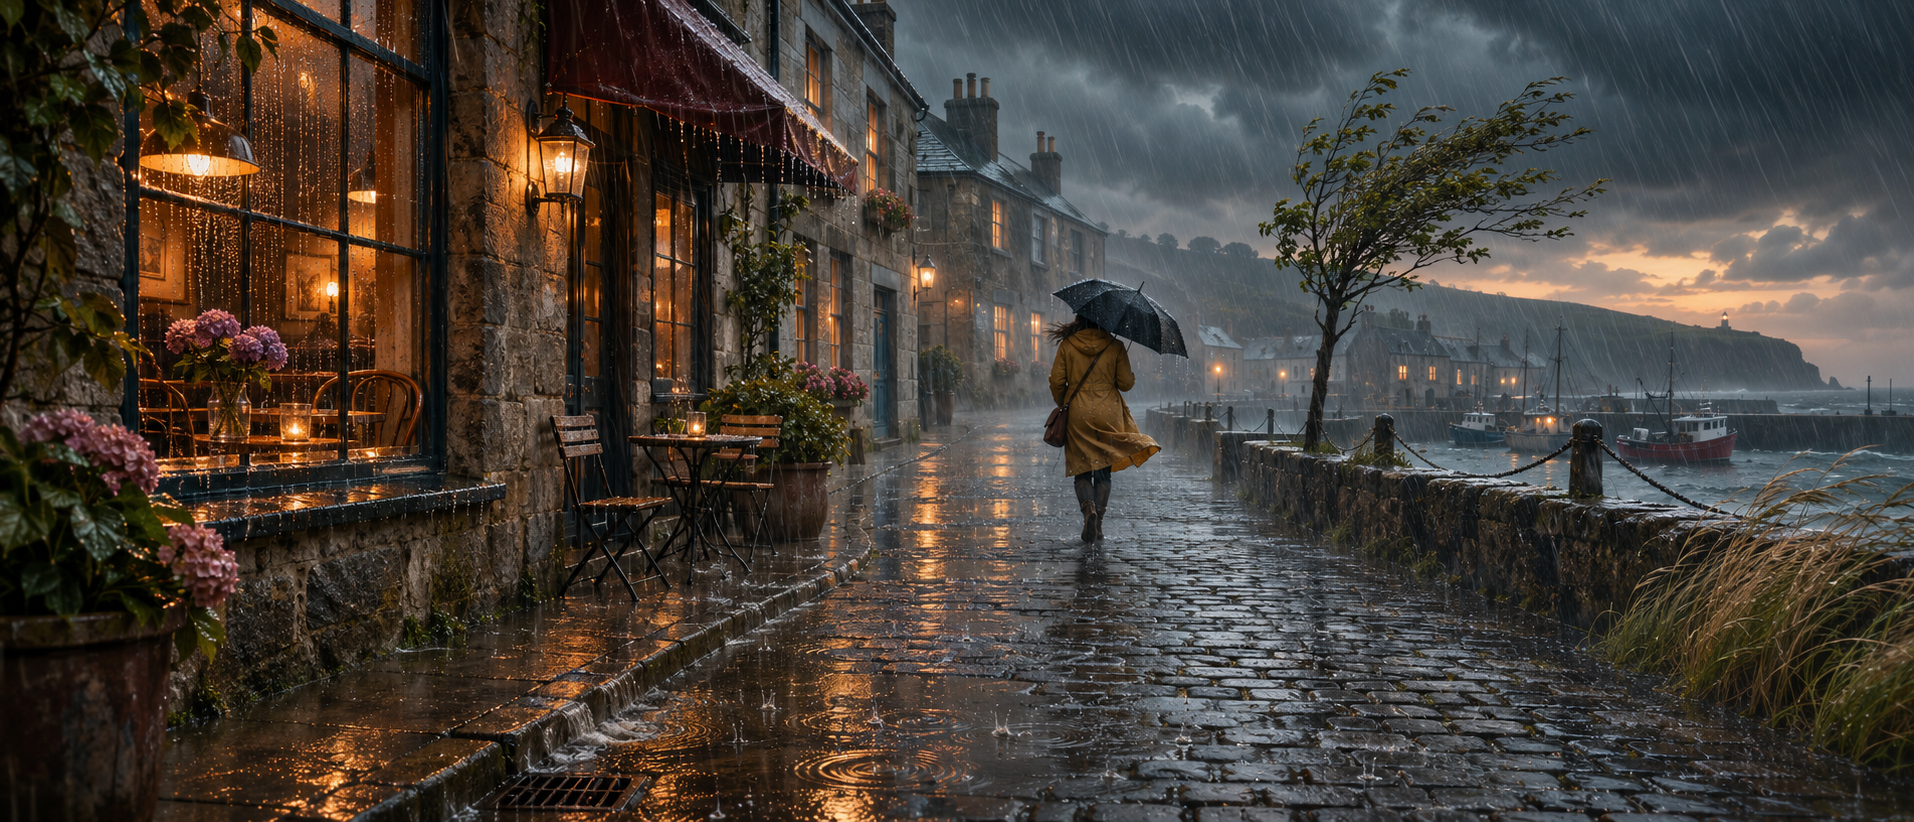
Rain should change more than the space between the camera and the subject. It darkens exposed surfaces, gathers along edges, and gives people a reason to seek shelter. Snow settles differently on a roof than on a busy pavement. Fog changes how much of a distant building remains visible. When generating weather with AI, these surrounding effects help the scene feel coherent. A prompt that describes only falling droplets or drifting flakes leaves much of the environment unexplained.
Think of weather as a condition that shapes the entire scene. It influences clothing, posture, visibility, surfaces, and movement. You do not need to describe every consequence, but the important ones should agree. A convincing starting point might be a small bookshop during steady evening rain: wet pavement outside, a sheltered doorway, warm interior light, and one person standing beneath an awning. That single situation provides enough detail for both a strong still image and a short animated moment.
Choose a precise weather state. “A rainy street” could mean a light drizzle, a sudden downpour, or the quiet minutes after a storm. Decide which moment you want before generating the image. For the bookshop, you might choose steady fine rain with a mild breeze. This suggests a different scene from heavy rain blowing horizontally across the storefront. The weather description should establish intensity, direction, and whether conditions remain stable during the shot.
Keep the time relationship clear. A street after the rain can contain wet surfaces and puddles without visible precipitation. A scene at the beginning of a shower may have scattered wet patches. A prolonged rainy evening can justify a more thoroughly soaked environment. Choose the details that fit the moment instead of combining every attractive weather effect. This makes your result easier to assess and gives later animation a consistent starting state.
Map exposed and sheltered areas. Look at the scene as a collection of surfaces with different relationships to the weather. The pavement beyond the bookshop awning is exposed. The doorway may be mostly sheltered. Water might collect along the awning’s edge and drip from a corner. Describing these differences can make the setting more persuasive than asking for a uniformly wet street.
A useful prompt could read: “A small bookshop during steady evening rain, dark wet pavement outside, a sheltered doorway beneath a deep green awning, occasional drips along the awning edge, warm light from the display window.” Review whether the image preserves that arrangement. Rain passing visibly through a solid canopy or a completely dry exposed pavement may undermine the scene unless there is a clear reason for it.
Describe surface changes individually. Wet stone, damp fabric, painted wood, and glass should not all look identical. For the bookshop, you could request darkened paving stones with scattered shallow puddles, small droplets on the window, and a slightly damp coat hem. Keep the descriptions selective. You only need enough evidence to communicate the conditions, especially when the image will appear at a small size.
Be careful with broad requests for reflective surfaces. An entire street rendered as a perfect mirror can draw attention away from the subject and make every object feel polished. Specify where reflections should be visible, such as a shallow puddle beneath the shop window. Let other areas remain textured. During review, check whether reflected colors and shapes relate plausibly to the lights and objects nearby.
Give the subject a believable response. Weather becomes more convincing when it affects behavior. A person might stand back from the awning’s edge, hold a closed umbrella while waiting, or turn their shoulders away from the breeze. Choose one clear response and build the pose around it. Avoid combining several gestures in a single still image, particularly if hands, clothing, and props overlap.
For example: “A person in a charcoal coat stands beneath the awning, holding a closed umbrella at their side and looking toward the rainy street.” This establishes a readable situation without requiring a dramatic pose. Inspect the umbrella’s shape, the hand holding it, and the person’s position relative to the shelter. Those relationships matter more to the story than adding extra droplets to every part of the frame.
Make the precipitation visible where it matters. Decide which area should reveal the rain most clearly. A dark section of the street or a softly illuminated region near the shop window can provide a useful backdrop. Describe the intended appearance: fine rain streaks visible outside the shelter, with the person’s face remaining clear. Judge the balance between atmosphere and legibility rather than requesting maximum rain everywhere.
Avoid allowing precipitation to obscure the main action. If the viewer needs to recognize a hand reaching for a door, keep that area readable. Similarly, a curtain of large droplets across the foreground may overwhelm a quiet scene. Start with restrained density and increase it only if the weather feels too weak. The aim is to communicate the conditions while preserving the subject’s expression and silhouette.
Give wind a consistent direction. When a breeze is part of the scene, decide how it appears across different elements. Rain might angle slightly toward one side, a loose coat edge might shift in that direction, and nearby leaves might respond gently. You do not need every object to move, but the visible responses should feel compatible. Specify a mild breeze if you want a contained scene rather than an energetic storm.
Wind also creates practical questions for props. A person holding an open umbrella in strong gusts needs a suitable grip and posture. A hanging shop sign should remain attached while it moves. Start with simpler conditions if these interactions become difficult to generate convincingly. A closed umbrella beneath an awning can tell a complete rainy-evening story with fewer moving parts to manage.
Approve the environment before animating it. Inspect the still image for structural clarity. Follow the awning’s edge, the window frame, and the pavement lines. Confirm that the person stands on a readable surface and that the doorway has enough space for the intended action. Look at the reflections and make sure they do not introduce unexplained figures or duplicate bright objects. Repair the most visible problems before adding motion.
Then choose one main action. The person might glance down the street, adjust their grip on the umbrella, or take a small step closer to the door. Let the weather provide the surrounding movement. A prompt might read: “The person briefly looks toward the street while fine rain falls steadily outside the awning. Water drips occasionally from the front edge. The camera remains fixed, and the window lighting stays constant.”
Separate falling weather from accumulated change. A short clip can show rain without requiring the whole environment to become progressively wetter. Likewise, snowfall does not need to produce a visibly rising layer of snow during every shot. Decide whether accumulation is actually part of the story. If it is, plan clear beginning and ending conditions. Otherwise, keep the environment stable and focus on the movement occurring within it.
Review the animation for unplanned changes. A puddle should not disappear between moments, an awning should not reshape itself, and the coat should remain recognizable. Watch the clip at normal speed first, then inspect suspicious sections more closely. Use stationary details such as the doorway and paving joints as reference points. They can help you distinguish intended weather movement from unwanted changes to the scene.
Adapt the method for snow and fog. For a snowy scene, decide where snow has settled and where activity has disturbed it. A quiet bench, a roof edge, and a walked-on path can each show different conditions. Describe a few meaningful differences instead of covering every surface with the same white layer. If a person crosses the scene, inspect their contact with the ground and decide whether visible footprints are necessary for the shot.
For fog, organize the scene by distance. Specify a clear foreground subject, a partially softened middle distance, and buildings that become less distinct farther away. Check that the image still provides enough landmarks to explain the space. When animating, a restrained change in the fog may be sufficient. Avoid requesting dramatic swirling motion unless that behavior belongs to the setting and mood you want.
Maintain weather continuity across shots. Record the intensity, wind direction, surface condition, and lighting for the sequence. If one shot shows fine drizzle and the next shows heavy rain, the change should be intentional. Carry the subject’s wet clothing details and umbrella state forward as well. A person who closes an umbrella before entering the shop should not hold it open again in the next interior shot without an intervening action.
Sound can help establish the relationship between locations. Rain outside the window, dripping near the doorway, and a quieter interior can distinguish the spaces. Match the sound to the visible conditions rather than adding the loudest available storm recording. Review picture and sound together, paying attention to whether the scene still feels like the weather state you originally chose.
A strong weather scene gives the viewer several compatible clues: an exposed surface, a sheltered space, a responsive subject, and movement with a clear character. Build those relationships into the still image, then animate a manageable moment within them. The result can feel atmospheric because the setting behaves like a place experiencing weather, with every important detail contributing to the same moment.