How to Create Appetizing Food Scenes with AI Images and Video
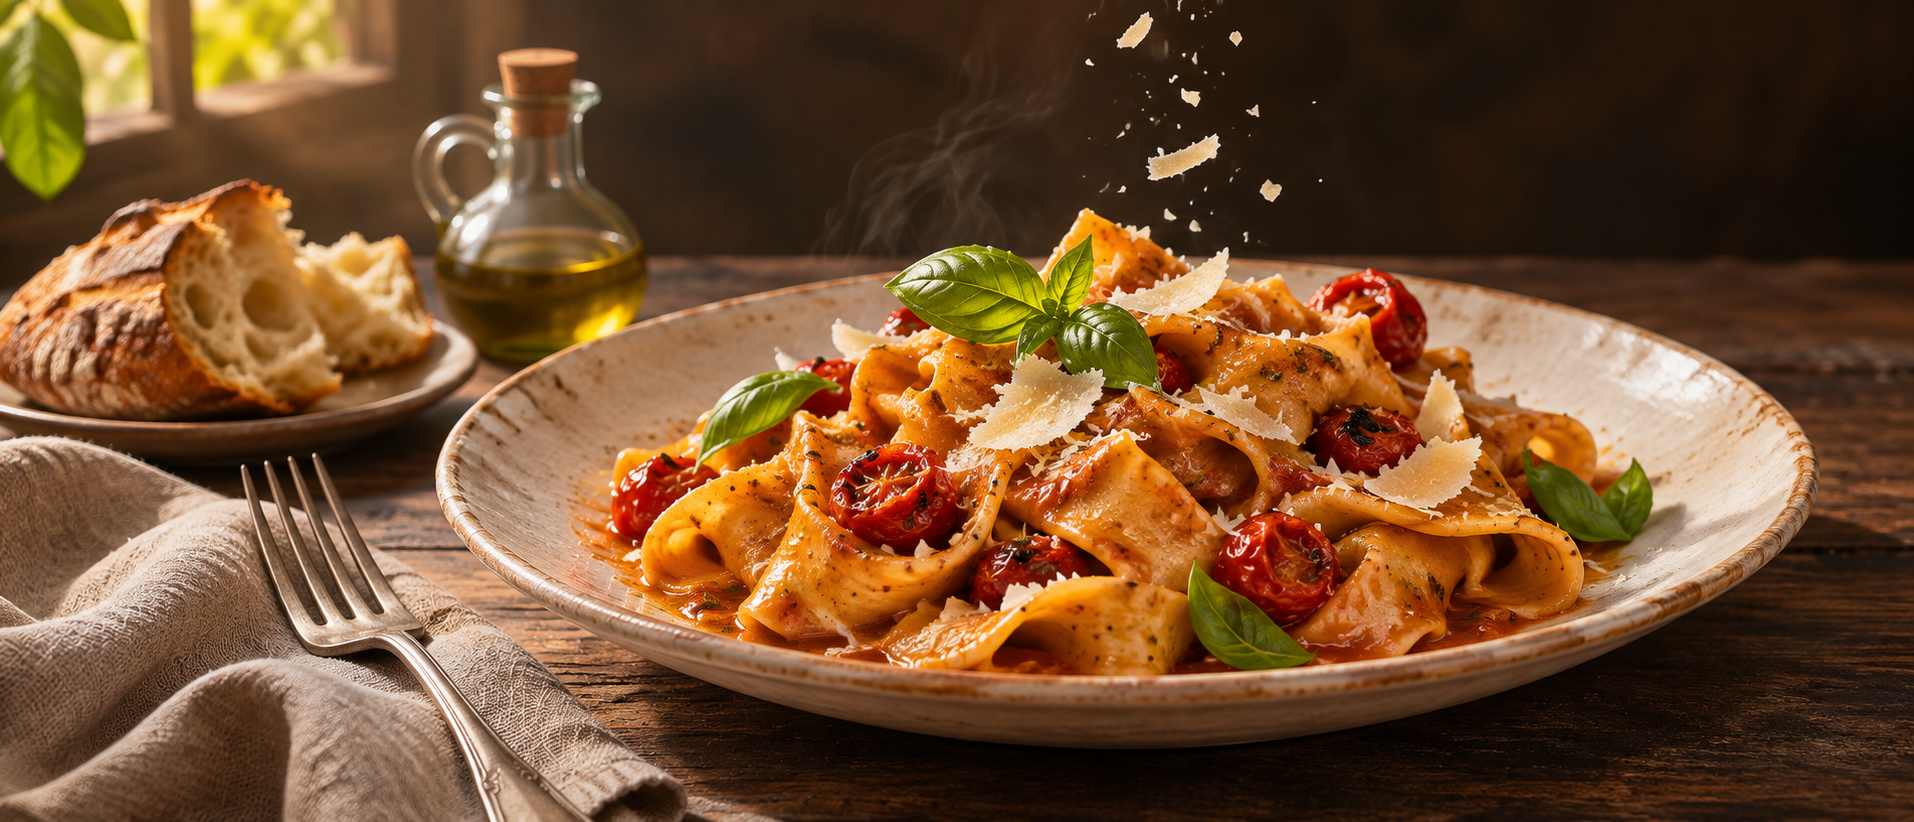
A convincing food image makes the viewer imagine more than its appearance. A golden pastry suggests a crisp first bite. A bowl of soup feels warm before anyone lifts a spoon. A sliced pear looks juicy because its surface, color, and shape work together. Creating that impression with AI requires specific decisions about ingredients, preparation, presentation, and movement. The most useful prompts describe a dish that could exist and explain which details make it inviting.
Food also gives you a clear test of visual coherence. A tart should have a recognizable crust, a drink should stay inside its glass, and a spoon should interact with a dish in an understandable way. Beautiful lighting cannot fully compensate for an ingredient that changes identity or a plate with an impossible edge. A practical workflow begins with one well-defined dish, develops a readable still image, and adds a carefully chosen action only after the food itself looks convincing.
Describe the finished dish precisely. Start with the food, its preparation, and its serving state. “A rustic pear tart” leaves several decisions open. “A round pear tart with thin overlapping pear slices, lightly browned pastry edges, and a delicate glaze, served whole on an off-white ceramic plate” gives you a much clearer subject. You can evaluate the arrangement, browning, and presentation separately instead of deciding whether the result vaguely looks delicious.
Choose a manageable number of visible ingredients. If you request a pastry covered with berries, chocolate, edible flowers, nuts, cream, syrup, and powdered sugar, the central dish may become difficult to recognize. Begin with the ingredients that define it. For the pear tart, the pear slices and pastry are enough. Add a small supporting detail only when it improves the composition or helps communicate the flavor.
Choose the detail that should stimulate appetite. Every dish has a visual feature worth emphasizing. For bread, it might be the open crumb inside a cut slice. For roasted vegetables, it might be browned edges and a light coating of oil. For a chilled drink, it might be clear ice and condensation on the glass. Decide which feature matters most and make sure the framing gives it enough space to be seen.
For the tart, you could emphasize the contrast between the flaky crust and soft fruit. A useful phrase might be “distinct pastry layers along the cut edge, with tender pear slices that retain their shape.” This describes two different textures without asking for exaggerated detail everywhere. Review whether those textures remain readable at the size where the image will actually appear, especially if it is intended for a small social post or recipe card.
Keep the food’s preparation state consistent. Decide whether the dish is freshly cooked, cooling, ready to serve, or already being eaten. Each state suggests different details. A whole tart straight from the oven belongs in a different scene from a plated slice with a fork beside it. Avoid combining incompatible cues simply because each sounds attractive. Heavy steam, frozen fruit, and a settled scoop of ice cream create a more complicated brief than a single warm pastry.
This choice also helps determine the surrounding objects. An oven tray and baking paper support a preparation scene. A plate, napkin, and dessert fork support a serving scene. A partially eaten slice suggests a moment after serving. Choose one moment and let the props reinforce it. The viewer should understand what is happening without having to reconcile several stages of the recipe at once.
Select the camera angle around the food’s shape. A view from above can clearly show the arrangement of pear slices across a tart. A lower, angled view can reveal the height of the pastry and the texture of a cut edge. A close side view may suit a layered sandwich but conceal the surface pattern of a flat dish. Choose the viewpoint according to the feature you want the viewer to notice.
Describe that viewpoint in ordinary visual terms. For example: “An angled tabletop view showing the full tart and the height of its crust, with the front edge of the plate visible.” This gives you a clear composition to assess. If you need both a full overhead arrangement and a detailed view of the pastry layers, create two images. Separate shots allow each feature to receive the attention it needs.
Use lighting to reveal the chosen texture. Begin with a simple lighting arrangement, such as soft window light entering from one side. Specify which part of the dish should be illuminated and how strong the shadows should feel. For the tart, you might request “soft daylight from the left, gentle shadows between the pear slices, and small highlights on the glaze.” Check whether the surface looks appetizing rather than uniformly wet or unnaturally shiny.
Different ingredients should retain distinct appearances. The ceramic plate, pastry crust, fruit glaze, and linen napkin should not all share the same gloss. Describe their finishes when necessary: a matte plate, lightly glazed fruit, dry flaky pastry, and woven cloth. If every surface looks polished, revise the material descriptions before adding more styling. The food becomes easier to read when its textures are visually separate.
Style the surroundings with restraint. Choose a background that supports the dish’s color and character. A warm wooden table might suit a rustic tart, while a clean pale surface could support a more minimal presentation. Add one or two props with a clear role. A folded napkin provides a soft texture. A fork establishes scale and suggests serving. A whole pear can identify the main ingredient without covering the food.
Place props deliberately rather than scattering them around every available edge. Keep the main dish’s outline clear, and avoid tangencies where a utensil appears to merge with the plate or a pear stem seems to grow from the pastry. A little open tabletop can make the composition easier to understand. If text will be added later, reserve a quiet area and test the actual headline before approving the image.
Inspect the dish as a physical object. Follow the plate’s rim around the image. Check that the tart sits on the plate rather than blending into it. Look at the pear slices individually: are they recognizably cut fruit, and do they overlap in a plausible arrangement? If a slice has been removed, inspect the remaining gap and the portion on the second plate. Their shapes should tell the same serving story.
Also review utensils and contact points. A fork should have a coherent handle and head. A knife should rest on a surface rather than disappear into the table. These details deserve particular attention when they are close to the main subject. Correct obvious structural problems before generating video, because movement may make them more noticeable. Keep an approved still image as the reference for the dish’s appearance.
Choose one modest action for the first animation. A food video does not need to include cooking, plating, pouring, cutting, and tasting in a single shot. Begin with an action that suits the approved composition. A hand might set down a fork beside the plate. A spoon might place a small portion of cream next to a slice. Even a stationary dish with a restrained camera movement can provide a useful short clip.
Write the action with a beginning and an ending. For example: “A hand enters from the right, places a dessert fork on the folded napkin, releases it, and leaves the frame. The tart and plate remain still. The camera stays fixed.” This gives you specific events to review. Check the hand’s grip, the moment of contact, and whether the fork remains coherent after it is released.
Plan food transformations as separate shots. Cutting a tart or lifting a slice changes the food’s structure and introduces several interacting objects. If the action is important, give it its own composition with a clear view of the contact area. Establish where the knife starts, where the cut should end, and which portion moves. Avoid hiding the critical action behind a hand or placing it at the edge of the frame.
You can also communicate serving through an edit between two approved states. One shot shows the whole tart; the next shows a plated slice with the remaining tart behind it. Match the pear arrangement, pastry color, plate style, and lighting across both shots. The cut should make the sequence understandable. This approach gives you room to tell a complete food story without requiring every physical transformation to happen continuously on screen.
Review motion for changes in the ingredients. Watch whether fruit slices multiply, pastry edges soften into a different shape, or a garnish shifts without being touched. Check the food at the start, middle, and end of the clip, then inspect any suspicious transition more closely. Compare it with the approved still. A clip can have smooth movement while quietly changing the identity of the dish.
Finish by reviewing the sequence at normal playback speed and at its intended display size. Trim sections where an action becomes unclear, keep color and brightness consistent, and add exact titles during editing. If you use sound, choose details that match what is visible, such as the light contact of a fork against a plate. Every finishing choice should help the viewer notice the food’s texture, freshness, and presentation.
An appetizing AI food scene starts with a dish you can describe clearly and inspect closely. Define its ingredients, choose the serving moment, and build the composition around its most appealing feature. Once that still image works, introduce an action with a clear physical purpose. A carefully rendered pastry edge, a believable arrangement of fruit, and a simple serving gesture can give the viewer a vivid sense of the meal.