From Still Image to Moving Scene: A Practical AI Creation Workflow
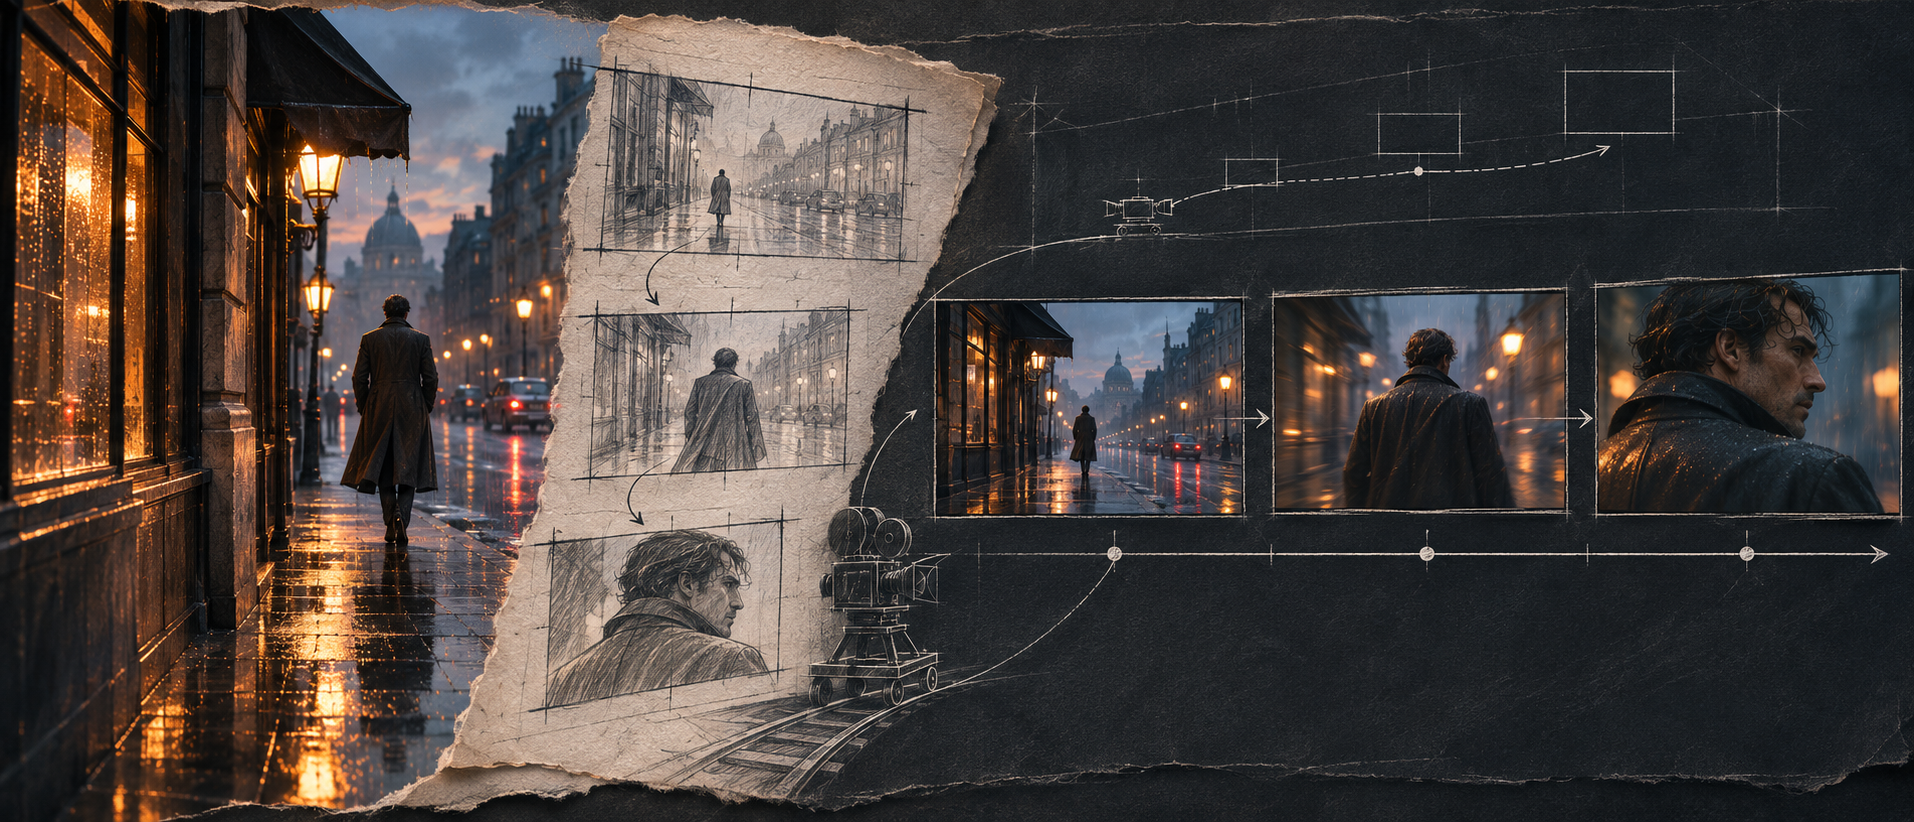
A beautiful AI-generated image does not automatically make a convincing video. A portrait can look excellent until the subject turns their head. A street scene can feel believable until the camera moves past a storefront. Motion introduces new demands: objects need to remain recognizable, surfaces must behave consistently, and the viewer needs a clear reason to follow the action. A useful way to approach AI visual storytelling is to design the still image and its future movement together. Instead of treating image generation and video generation as separate experiments, build a workflow in which every frame prepares the next creative decision.
Begin with a moment that can actually unfold. Before writing a prompt, describe your scene in one sentence using a subject, an action, and a setting. “A florist ties a ribbon around a bouquet beside a rainy shop window” is more useful than “a beautiful cinematic flower shop.” The first description gives you something to stage and animate. The second mostly describes an appearance. Keep the initial action modest and observable. A glance, a drifting curtain, or a hand resting on a tabletop can provide enough movement for a compelling short shot.
Next, decide what the viewer should notice first. This is your visual priority, and it should guide composition, lighting, and motion. In the florist scene, the priority might be the red ribbon against pale flowers. You can support that choice with a quieter background, a clear separation between the hands and bouquet, and light that makes the ribbon visible. If the strongest contrast belongs to an unrelated sign in the background, the shot may communicate something different from what you intended. Solve that problem before introducing animation.
Build your image prompt around visible relationships. Broad adjectives such as “premium,” “stunning,” and “cinematic” leave many important decisions unresolved. Describe where things sit and how they relate instead. For example: “Medium close-up of a florist behind a wooden counter, bouquet centered at chest height, red ribbon visible between both hands, rainy window on the left, softly blurred shelves behind.” You can then add the intended appearance: natural skin texture, muted green surroundings, and gentle window light. The prompt becomes a set of observable instructions rather than a collection of compliments.
A practical prompt order is subject, composition, setting, lighting, and finish. This order is primarily a writing aid; it helps you spot omissions and contradictions. If you request both a tight facial portrait and a full view of the workbench, you are asking for competing compositions. Choose the framing that serves the action. Likewise, a scene described as softly lit should not also depend on sharply defined shadows unless you have a clear lighting arrangement in mind. A coherent brief gives you a better basis for evaluating the result.
Leave room for the intended movement. When composing a starting image, consider where the subject or camera will travel. A person looking toward the right side of the frame may benefit from open space in that direction. A hand that will lift an object needs room above it. If you intend to add titles later, reserve a calm area where text will remain readable. These decisions are easier to make during image generation than after a moving subject has crossed the only usable space for a caption.
Depth also deserves attention. Distinguish a foreground element, the main subject, and the background when that arrangement suits the scene. In a workshop, a blurred edge of the workbench might occupy the foreground, the craftsperson might sit in the middle, and shelves might establish the room behind them. Avoid adding foreground clutter simply to make the image look elaborate. Every object becomes something you may need to inspect during animation, especially if it overlaps a face, hand, or important product detail.
Approve the starting frame before spending time on motion. Inspect the image at a useful viewing size. Check hands, object boundaries, reflections, clothing edges, and anything central to the story. For a product scene, verify its silhouette and placement. For a character scene, look at the eyes, face, and posture. If the starting image contains an ambiguous object or an awkward grip, repair or regenerate it first. Animation should develop a scene you already understand, rather than carry the burden of correcting an unclear foundation.
Write the motion prompt as a short sequence of events. Once the image works, describe what changes over time. You might write: “The florist gently tightens the ribbon, pauses, and looks down at the finished bouquet. The camera remains stationary. Rain streaks slowly down the window.” This establishes a main action, an ending, and a small environmental movement. It also makes the result easier to judge. You can ask whether the ribbon action happened, whether the pause felt natural, and whether the framing stayed suitable.
Start with one main action and one camera behavior. Asking a subject to walk, turn, speak, pick up an object, and leave the room while the camera circles them creates many simultaneous requirements. Break such a sequence into separate shots when possible. One shot can establish the room, another can show the object being handled, and a third can capture the reaction. This is also a storytelling advantage: each shot has a clear purpose, and you gain more control over pacing during editing.
Choose camera movement for a reason. A gentle push toward a subject can direct attention to a small emotional change. A sideways move can reveal the relationship between objects in a space. A stationary camera can make a precise gesture easier to read. Avoid adding a dramatic orbit solely because it sounds impressive. An orbit asks the sequence to show surfaces and spatial relationships that may not be visible in the starting image. If those hidden details are important, prepare additional references where your chosen tool supports them, or choose a more contained movement.
Be equally specific about what should remain stable. Useful instructions might include a fixed camera, an unchanged arrangement of objects on the counter, or consistent clothing throughout the shot. Treat these as requests to evaluate, not guarantees. If an important detail repeatedly changes, simplify the shot or revise the composition. A distinctive jacket may remain easier to assess when it is clearly visible than when it is repeatedly obscured by flowers, hands, and foreground objects.
Plan continuity across shots before generating a sequence. Write a short visual reference note for your subject and setting. Record the clothing, hairstyle, key colors, lighting direction, and distinctive props. Repeat the relevant details in each shot brief, and use approved reference images when the tool allows them. Keep these notes concrete: “olive apron over a cream shirt” provides a clearer check than “the same stylish outfit.” References and repeated descriptions can guide continuity, but you should still inspect each output for changes.
Continuity includes action as well as appearance. If one shot ends with the bouquet resting on the counter, the next should not begin with it inexplicably held above the character’s shoulder. Define the opening and closing state of each shot. You do not need an elaborate storyboard; a simple list can be enough. For example: bouquet on counter, ribbon adjusted, bouquet lifted, finished arrangement presented. This gives the sequence a physical logic that remains useful even if you change the visual style later.
Run controlled comparisons instead of rewriting everything. When a result disappoints you, identify the most important problem and change one major instruction. If the movement feels excessive, reduce the action before changing the lighting and composition. If the subject is too small, correct the framing before experimenting with texture. Save the prompt beside each useful result, together with a brief note about what worked. Where a tool exposes settings such as seeds or motion controls, record them too, while remembering that their behavior depends on the system.
Review video in two ways: at normal playback speed and through individual frames around suspicious moments. Normal playback tells you whether the shot feels readable and well paced. Frame inspection helps you locate a changing object edge, an awkward hand transition, or a brief facial distortion. Pay particular attention to contact: a cup meeting a table, fingers closing around a stem, or feet touching the ground. These moments often carry the physical meaning of the action, so errors there can distract even when the overall image is attractive.
Finish the sequence with deliberate editing. Use the strongest part of a generated clip rather than assuming its entire duration belongs in the final piece. Trim an uncertain opening, cut before an action loses clarity, and give important moments enough screen time to register. Add exact typography, captions, and brand graphics during editing when their precision matters. Sound can support the scene with restrained details such as rain, paper movement, or room ambience. Make sure those sounds match the visible action and the mood you intend.
The most reusable AI creation technique is a clear decision process. Define a moment, compose an image that supports it, approve the visible details, and introduce a manageable amount of movement. Then inspect the result against the purpose of the shot. You do not need every clip to contain a spectacular camera move or a complicated transformation. A coherent subject, a readable gesture, and a well-timed cut can turn a generated visual into a scene that feels considered and complete.